Week Twenty-Seven: Try It Again; This Time With Feeling.
You may recall last week’s variations on a theme, entitled “Same Dough, Different Methods”. Well, there was one variation I didn’t try: the sourdough starter method. I didn’t try it because I decided it was too far out of the realm of “same dough”-ness to really count. I tried to keep the ingredients as identical as possible, and this variation seemed a bit too fussy for all that.
This is not to say that this is a fussy bread, exactly; quite the opposite, in fact, assuming you have a sourdough starter on hand. I’ve used the recipe for the starter that I originally made back in March (the original one finally bit the dust, but I’ve got Number Two going strong). If you make bread with any frequency, you may like to keep a starter on hand in the refrigerator. They’re very low-maintenance, and it’s a quick and simple way to add extra flavor and keeping ability to any bread!
The starter I used has a 100% hydration level, which means there’s an equal amount by weight of flour and water. If you have another starter, you may need to adjust the levels of flour and water in the final dough for this bread. But I highly recommend you try it; there’s hardly a better and easier way to get maximum flavor with little time involved!
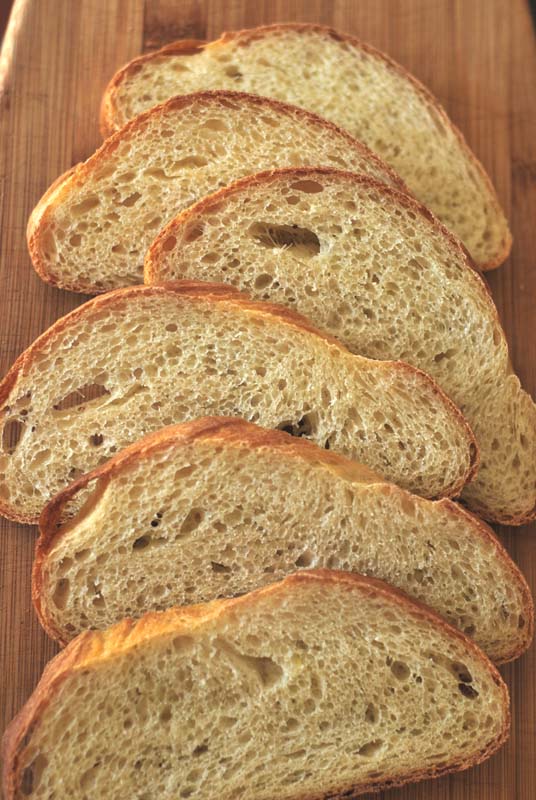
Like many of the breads from last week, this loaf baked into a beautifully golden-brown loaf, with plenty of oven spring, making for a very pretty bread. The texture was lovely and properly chewy, with an even arrangement of gorgeously big air holes in the crumb, more so than many of the other variations. There was a slight sourdough tang to the flavor, but only barely. The complex flavors of a long-fermenting dough were there in spades, and combined into a well-balanced overall flavor with the notes of sourdough.
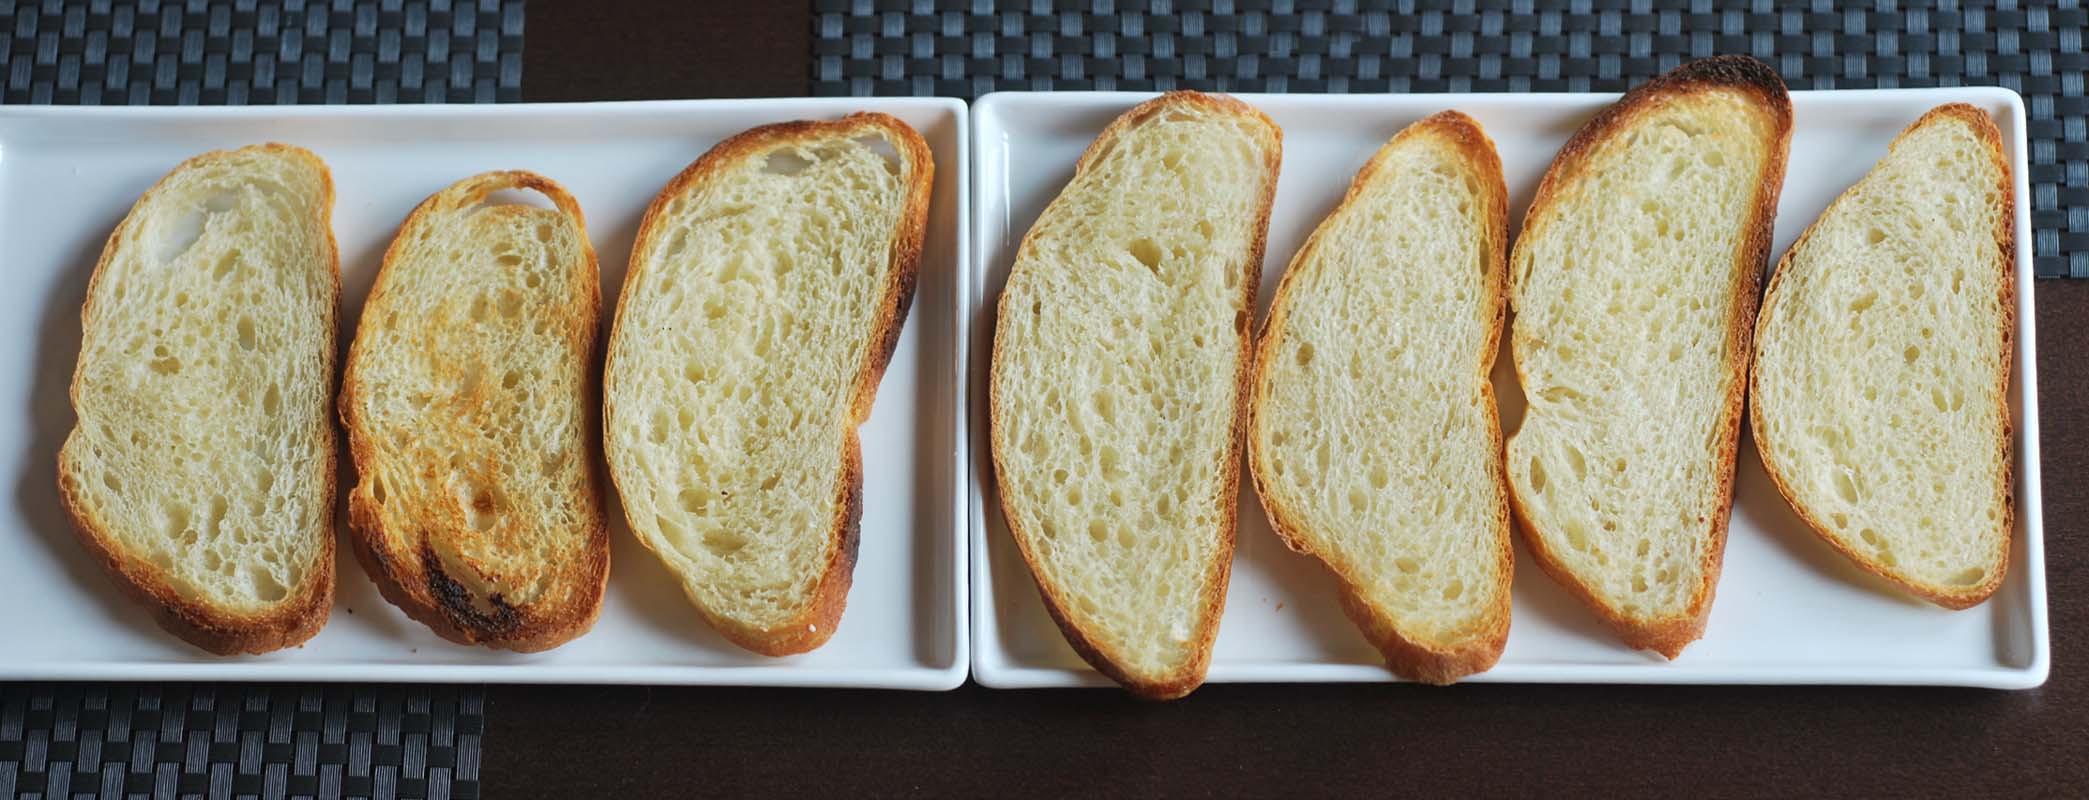
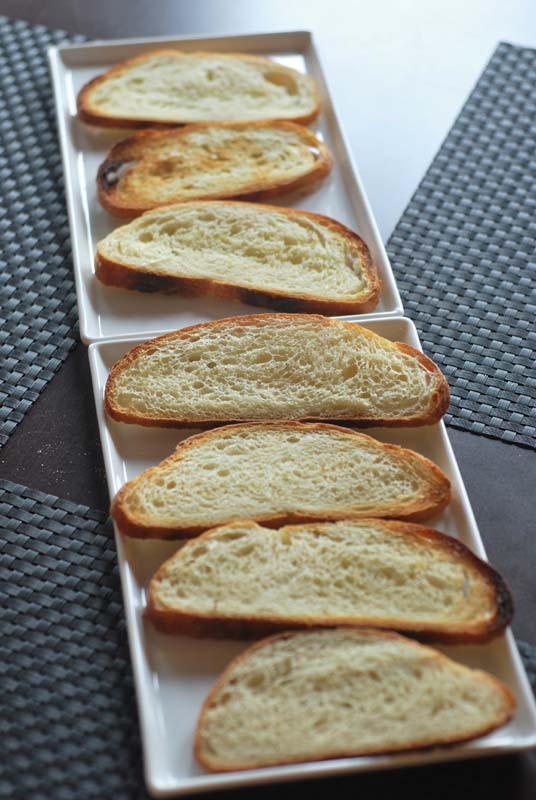
But the most fun part, after I made this bread, was tasting. Yes, I saved one slice from every variation loaf that I baked, choosing randomly from the middle of the loaf every time. Labeled and frozen, I’d been looking forward to comparing each to each for almost two weeks. We mixed up a batch of tuna salad, and set out a plate of dipping oil, while waiting for the slices to toast under the broiler. (You may notice that a couple got a little overdone.)

from left to right: straight dough, autolyse, overnight ferment, overnight proof, pre-ferment, long rise, and sourdough.
All of the breads were what I’d call acceptable. There wasn’t a bad one in the lot, but the two “losers” of the bunch were the Overnight Proof bread and the Straight Dough bread. But there was one clear winner: the Long Rise bread. Hands down, no question. The flavor was so amazingly complex, especially compared to the others! It had such a perfectly chewy texture, not too tough, but with a pleasing resistance to being bitten and pulled apart. Great job, bread!
The second place winners, if I had to choose, would be a three-way tie between the Autolyse bread, the Overnight Ferment bread, and the Sourdough bread. All had similar levels of complexity in the flavor, similarly nice textures and crisp crusts, but shared the distinct advantage of not taking seven hours to make. You won’t go wrong with any of those, and all passed muster with my (now) very discriminating bread-palate. The Pre-Ferment bread was also very good, and is a good substitute if you just can’t be bothered with a sourdough starter; but I’m not convinced that the time involved was worth the wait. I think the flavor of the Autolyse bread was just as good, and took less time. The sourdough starter bread, though, had that fabulous tang to it that you just can’t get in less time, which is why it edged out the win.
I really enjoyed getting to experiment with all these different methods! It was quite cool to finally see and taste for myself all those things that I had previously only learned on paper. And so, in the end, if you have literally all day to devote to breadmaking, I highly recommend cutting the yeast in your favorite recipes, and letting time do most of the work for you. If not, there’s still no better trick to have up your sleeve than an autolyse. Fast, easy, and it works wonders with any recipe. Try it for yourself, and happy baking!
The Sourdough Method
Makes 1 big loaf
19 ounces (about 4 cups) unbleached bread flour, divided
3/4 teaspoons instant yeast (see note 1 below)
7 1/2 ounces (1 cup minus 2 tablespoons) room temperature water
3/4 cup sourdough starter, from this recipe
1 teaspoon kosher salt
1. In the bowl of a stand mixer, whisk together all but a handful of the flour and all the yeast. Add the water and starter, and mix with the dough hook at low speed until a rough dough forms, about 1 minute. Turn the mixer off, and without removing the bowl or the hook, cover the bowl loosely with plastic wrap. Let stand for at least 15 to 20 minutes, or up to 45 minutes.
2. Remove the plastic wrap, and add the salt. Continue kneading the dough, at medium-low speed. Knead for 6 to 8 minutes, or until the dough forms a cohesive ball that clears the sides of the bowl, and becomes elastic. If the dough does not clear the sides of the bowl, add the reserved flour until the proper consistency is achieved. The dough should not be stiff.
3. Turn the dough out onto a lightly floured surface, and knead a few times, forming the dough into a round ball with a skin stretching over the outside. Transfer to a lightly oiled bowl, smooth side up. Cover with plastic wrap and let rise until doubled in size, about 1 hour.
4. Line a large baking sheet with parchment paper. Gently deflate the dough, and turn out onto a lightly floured surface. Flatten the dough into a slight rectangle or oval shape. Fold the two corners furthest away from you into the center of the dough, as though you were beginning to fold a paper airplane. Starting with that point, roll the dough up into a cylinder, pressing gently to seal as you roll. Press the final seam to seal. Transfer the dough to the prepared baking sheet, seam-side down. Tuck the ends under if desired, to make a more attractive loaf. Cover loosely with lightly-oiled plastic wrap, and let rise until doubled in size, about 1 hour. Thirty minutes before baking, preheat the oven to 425º F, and place another baking sheet or oven-safe pan in the bottom of the oven. If you have a baking stone, heat it with the oven. If not, your baking sheet is fine.
5. When fully risen, and using a sharp serrated knife or clean razor blade, make three decisive slashes in the top of the loaf at a 45º angle, evenly spaced. Transfer the bread to the oven (or baking stone, if using). Immediately throw 4 or 5 ice cubes into the hot pan on the oven floor. Bake for 10 minutes, adding additional ice cubes as they melt.
6. After 10 minutes, remove the ice-cube-pan from the oven, and bake the loaf for an additional 15 to 25 minutes, or until deeply golden brown. Remove the bread to a wire rack to cool before slicing.
Notes:
1. If using active-dry yeast, your water should be a bit cooler, around 105º F to 115º F. Instead of mixing the active-dry yeast into the flour, you should dissolve all of it in a little of the warm water, in the mixing bowl. Let stand for about 5 minutes, or until foamy. Add the remaining ingredients, and proceed as directed.


