Week Twelve: Pre-Fermented Breads
This is called a “sourdough”; but technically, it’s not a true sourdough bread. A true sourdough will use a starter to capture wild air-borne yeasts, rather than using a standard baker’s yeast. The starter is fermented for several days, allowing those wonderful lactic and acetic acids I mentioned on Monday to develop strongly. This is what gives sourdough its notable tangy flavor. Technically speaking, the recipe below uses a sort of “poolish”, which is a type of French starter.
A poolish is a very liquid starter, one that uses about an equal proportion of flour to water, and has some baker’s yeast added to the mix. It’s left to sit anywhere from 30 minutes to a day or so, then used or refrigerated. Generally speaking, the longer it sits out, the tangier it gets. You can certainly use a poolish in the manner you might use a sourdough starter; that is to say, rather than use it all at once, you can take some of it to use in your bread, refresh the starter, and continue to hold onto it for future use. Typically, though, a poolish is used completely in whatever bread you’re making; so this recipe is a bit of a hybrid.
As for the name “poolish”, the French dubbed it thusly, as it was brought into France by Polish bakers, who had devised the technique in the mid 1800’s. I’ve seen disagreement as to whether that’s actually from a French word for “Polish”, or if it was a mispronunciation of the English word “Polish”. But personally, I don’t know where the Englishmen come from in this situation, so I think that’s probably the less likely origin. Oh, and the word is pronounced “pool-EESH”, with the accent on the second syllable. Now you can sound like a professional, too! (Just don’t pronounce it like “foolish”… you might sound it! ba-dum-tsh!)
One strange ingredient in this bread is a crushed-up vitamin C pill. I’m sure you’re wondering what in the world that’s for, and are probably thinking you can just leave it out. But don’t you dare! That little bit of ascorbic acid (aka: vitamin C) is an important dough enhancer. It creates an acidic environment that the yeast prefers, and helps it to grow faster and longer, and create all those other acids (lactic and acetic!) that make your bread ultra-delicious. Another function of the ascorbic acid is to retard growth of any undesired bacteria and mold, and that’s very important!
This bread needs to be started at least a day before you want to eat it, and then takes an additional 5 hours after that. But you actually don’t knead it at all, since the stand mixer does all that work for you. This dough is too wet to handle, so if you don’t have a mixer, you run the risk of adding too much flour if you try to make it by hand. And yes, it does take quite a while to make; but each step is almost ridiculously easy, and takes hardly any effort. And, unlike many other artisan-style breads, there is quite a bit of wiggle room in the schedule. Started it yesterday, but don’t feel like making it tonight? The starter will keep for days! Mixed the dough together, but have a sudden emergency (of any kind you like)? Stick it in the fridge, and finish it later!
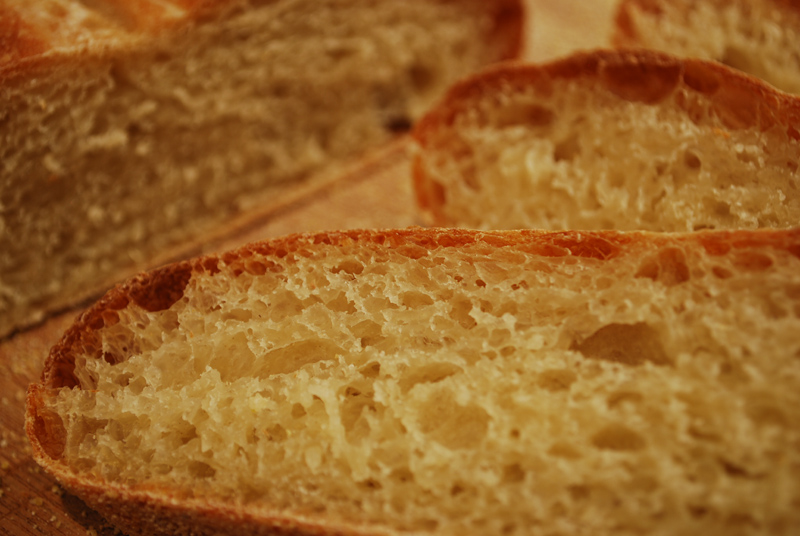
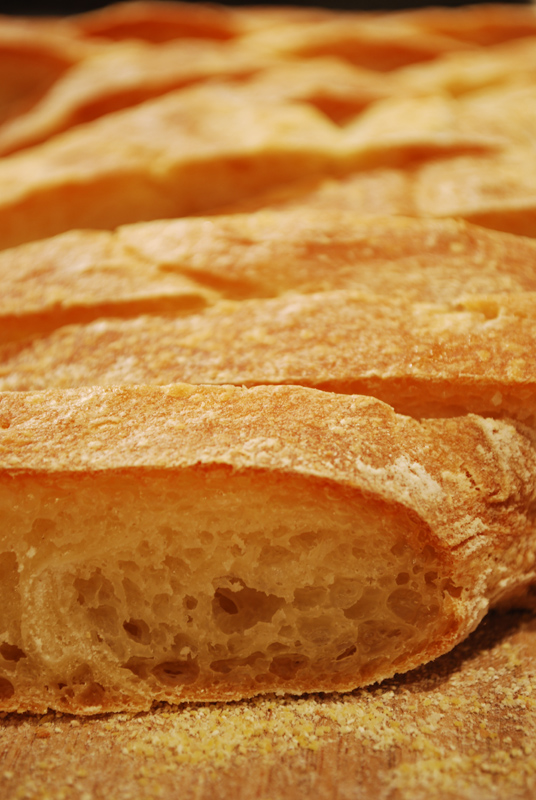
As for flavor, you just can’t beat it. It’s absolutely delicious! I made this bread in the shortest amount of time allowable (which is to say, letting the starter sit for only one day), so it wasn’t as tangy as a so-called “sourdough” usually is. The longer you let the starter sit, the tangier it will be. If you’re just looking for an extremely tasty, artisan loaf, use the starter as soon as you can. If you want a more traditional sourdough flavor, let it sit (in the fridge!) for about a week. Either way, you’ll end up with a perfectly-crusted, wonderfully airy bread that will make you the envy of your friends. And it’s a good thing you’ll have extra starter – people will be begging you to make it again!

Rustic Sourdough
Adapted from Alton Brown
Makes 2 loaves
For starter:
1 2/3 cups bread flour
1 teaspoon instant or rapid-rise yeast
1/2 500 mg vitamin C pill (not chewable), crushed
2 cups warm water (105º – 115º F)
1. Sift first 4 ingredients into a medium bowl. Place water in a large sealable container. Add dry ingredients and whisk vigorously to combine. Cover container with lid slightly ajar. Let stand in warm draft-free area 24 hours.
2. At this point, you can use this pre-ferment in a recipe. Or you can develop the flavor by adding a cup each of water and bread flour, letting it stand uncovered at room temperature until foamy (about 2 hours). You can then refrigerate it for at least 3 weeks. A liquid will rise to the surface every few days; just whisk it back in. Feed the dough every time you take some to use it in a recipe. For every cup taken, add a cup each of bread flour and water, let foam, and return to the fridge.
For bread:
1 cup warm water (105º – 115º F)
3/4 cup starter (from recipe above)
1/4 cup plain yogurt (not Greek-style)
3/4 teaspoon instant or rapid-rise yeast
3 1/3 cups (or more) bread flour, divided
2 teaspoons salt
1. Mix first 4 ingredients in bowl of a stand mixer. Add only 2 cups flour; stir to blend. Loosely cover bowl with plastic wrap and let rise in a warm location until doubled in size, about 1 1/2 hours.
2. Using dough hook, mix in 1 1/3 cups flour and salt using lowest speed. Increase speed slightly; knead dough 5 minutes, adding more flour by tablespoons if dough sticks to side of bowl. Let dough rest 15 minutes. Knead again on low speed for 5 minutes. Transfer dough to a large, lightly-oiled bowl, cover with plastic wrap, and let rise until doubled in volume, about 1 hour.
3. Turn dough out onto a floured surface and fold over on itself several times to flatten. Divide dough in half. Gently shape by patting, and lifting up and stretching corners, each one to a 4×8 inch rectangle. Using a sharp serrated knife, quickly and gently make 1 shallow slash lengthwise down each loaf.
4. Sprinkle a large rimmed baking sheet with cornmeal. Space loaves on sheet at least 3 inches apart. Dust tops with flour, and cover with plastic wrap. Let rise in a warm place until doubled in volume, about 1 hour more.
5. 30 minutes before baking, preheat oven to 500º F, positioning a rack at the lowest possible setting (just above the floor of the oven, or your baking stone if you have one). When bread is fully risen, uncover and spray loaves with water. Bake 5 minutes, quickly open door and spray again. Reduce oven temperature to 425º F. Bake for an additional 20 minutes, or until loaves are puffed and golden. Transfer to rack, and cool at least 15 minutes. Serve warm or at room temperature.
Notes:
1. I needed to use a bit more than the total given amount of flour (maybe 1-2 tablespoons more); but the idea here is to keep the dough as moist as reasonably possible, so use restraint.
2. You can replace about 1/3 cup of the bread flour with whole-wheat flour if you prefer a more rustic characteristic.
3. I do recommend using instant yeast in this application (long story short), but if you need to substitute active-dry yeast, increase the amount to 1 1/4 teaspoons for the starter, and 1 teaspoon for the dough.
4. After the starter is refrigerated, it can be kept pretty much indefinitely (I’m talking years here), as long as you continue to use it and feed it regularly. If you use and feed it daily, it can even be kept at room temperature; but for those of us who aren’t Nancy Silverton, I urge you to refrigerate it, for food safety’s sake (ascorbic acid or no).
5. Yes, I know the measurements are given by volume, not by weight, my firm preference. I know. That is all.

