Week Four: Savory Quick Breads
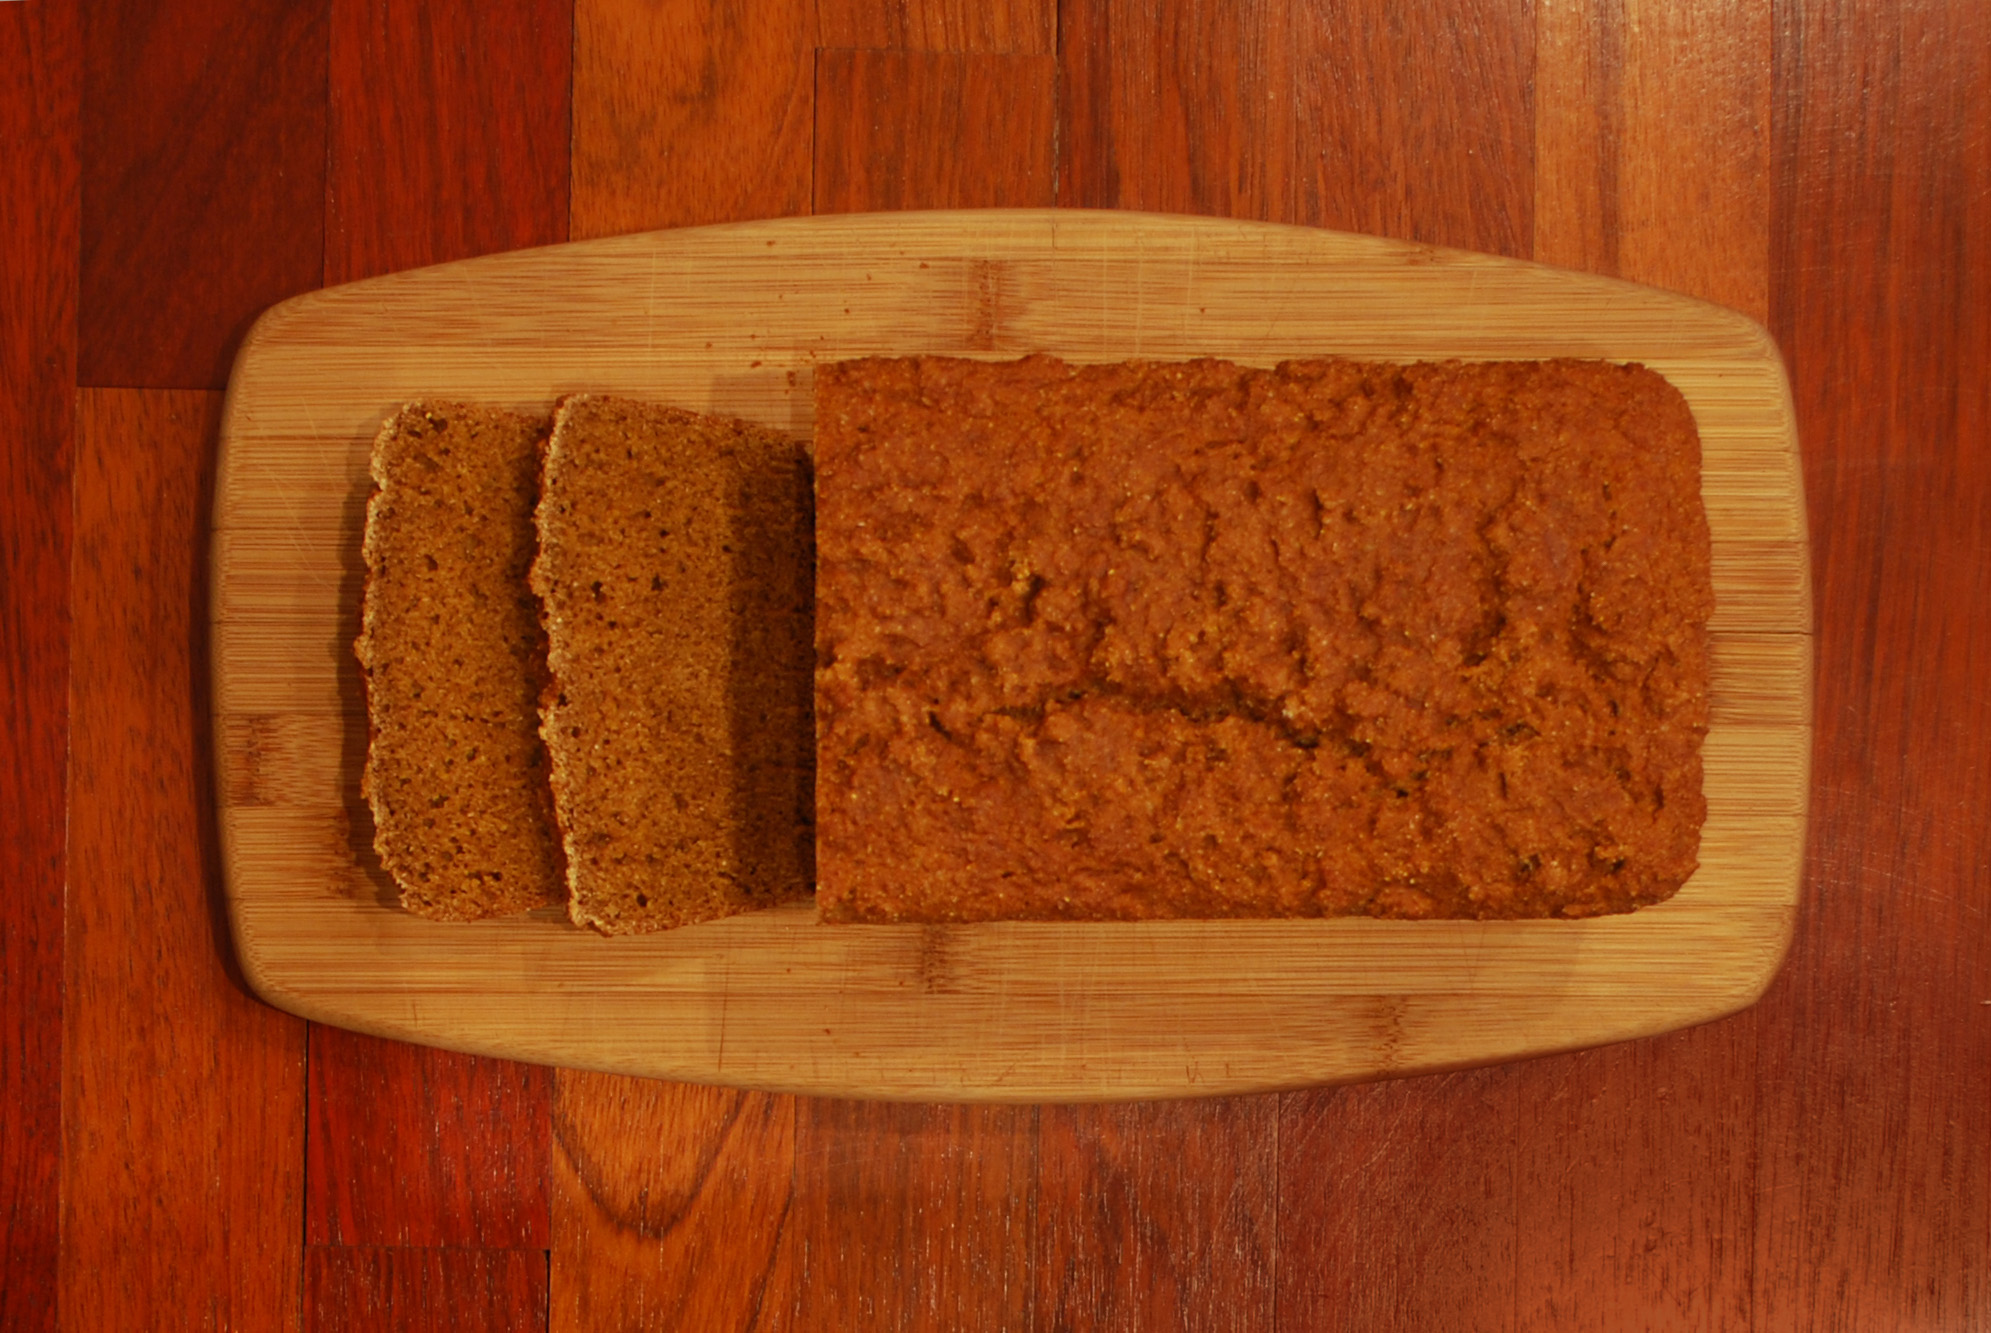
This bread is a textbook example of a savory quick bread. It is a little sweeter than most “savory” breads, but it’s still decidedly in the savory camp. Full of whole-wheat flour and cornmeal, it’s nothing but whole grains. Much of the time, a whole-grain bread can be very dense and brick-like, but this is nothing of the sort. I wouldn’t go so far as to call it fluffy, but it’s definitely not dense. It comes together in absolutely no time, and has a rich flavor that belies its rapid creation.
I think this bread is a faster, more grainy take on Anadama bread, a relatively obscure New England specialty. Anadama bread is usually made with white flour, cornmeal, and molasses, and is yeast-leavened. This bread, because of all the whole-wheat flour, needs a fair amount of rising power, provided by the relatively high proportion of buttermilk and baking soda. The buttermilk also gives it a wonderful tangy flavor that cuts the sweetness of the molasses, and mellows the taste into a nice balance. Paired with a backdrop of nutty whole-wheat flour, set off with the slightly-sweeter cornmeal, it’s a fantastic combination.
The smell is mesmerizing, with a hint of gingerbread from the molasses, and that great “I just baked bread, and you didn’t” scent that will drive everyone else in your condo building nuts. This rustic loaf would go very well with a lighter meal, a brothy soup, or chicken prepared simply; it’s a little too full-flavored to go really well with heartier fare. As with most quick breads, it’s made all the better by slicing and toasting quickly under a hot broiler; and you can always gild the lily by adding a pat of butter. If you’re up for something a little more adventurous, though, top a toasted slice with bits of good dark chocolate – it’s delicious! If you like it well enough, next time throw in a half-cup of mini chocolate chips, and have a dessert that you can feel pretty good about eating. (Yes, bread can be dessert!) The whole grains are certainly good for you, there’s no added fat if you use skim buttermilk or yogurt, and molasses (though very sugary) has vitamins and minerals from here to next week. (I’m not saying you should eat the whole thing; but come on, it’s certainly better for you than chocolate cake.)
Again, play with the versatility of this bread! You can play up the sweetness by adding things like orange zest, cloves, or the aforementioned chocolate chips; or you can stay on the savory side by adding a pinch of cayenne pepper, chopped toasted pine nuts or walnuts, or some grated Parmesan or sharp cheddar. You could even decrease the molasses a bit, though I would add more liquid to make up for it. Have fun with it! It’s so fast and easy, there’s no reason not to!
Quick Whole Wheat and Molasses Bread
From The New York Times
Oil or butter for greasing pan
1 2/3 cups buttermilk or plain yogurt, or 1 1/2 cups milk and 2 tablespoons vinegar (see step 2)
2 1/2 cups (about 12 ounces) whole wheat flour
1/2 cup cornmeal
1 teaspoon salt
1 teaspoon baking soda
1/2 cup molasses
1. Heat oven to 325 degrees. Grease an 8×4 or 9×5 inch loaf pan, preferably nonstick.
2. If using buttermilk or yogurt, ignore this step. Make soured milk: warm milk gently – 1 minute in the microwave is sufficient, just enough to take the chill off – and add vinegar. Set aside.
3. Mix together dry ingredients. Stir molasses into buttermilk, yogurt, or soured milk. Stir liquid into dry ingredients (just enough to combine) then pour into loaf pan. Bake until firm and a toothpick inserted into center comes out clean, 45 minutes to 1 hour. Cool on a rack for 15 minutes before removing from pan.
Notes:
1. My bread was baked at just over 45 minutes. Because of the dark color from the molasses, its hard to tell if it’s done just by looking. You can always remove it from the tin and tap the bottom to see if it sounds hollow, but I find that a little tricky with a hot pan. I press on the top of the loaf, in the middle, and check the resistance. If it feels a bit squishy, it needs more time. If it feels firm (like the outer edges should), then it’s done.
2. Use unsulphured molasses if possible.
3. The milk-and-vinegar trick in step 2 works like a charm! I rarely buy buttermilk anymore, and just do this. I never seem to be able to use up all the buttermilk before it goes bad, and the same with the last 2 cups of a gallon of milk. (Though you can use soured milk in place of buttermilk, I don’t really recommend using old buttermilk, unless you’re making cheese.)


