Week Thirty-Nine: No-Knead Bread Week
Oh, you knew it was coming sooner or later. Did anyone really think I was going to go the whole year without acknowledging the biggest ever stir in the breadmaking blogosphere, the phenomenon (to use a tired descriptor) that launched a million ovens to unexplored panary shores? Feh.
Does the world really need another treatise on no-knead bread?
No. No, it does not.
*Gallic shrug*
It was quite amazing, the reaction to this simple recipe. Within days of publication, hundreds of no-knead posts appeared across the internet, and that Thanksgiving in New York City, there was a run on Dutch ovens and instant yeast that lasted through Christmas. My own father sent me the recipe, a man who has about as much interest in baking his own bread as a cat does: they might enjoy it very much, but it’s probably not going to happen.
No-knead bread got people baking, people who never thought they could bake bread in a million years. But for every encouraged and justly-proud novice, there was a mean-spirited epicure in the background, sniffing above all the hubub, “It’s not that good.”
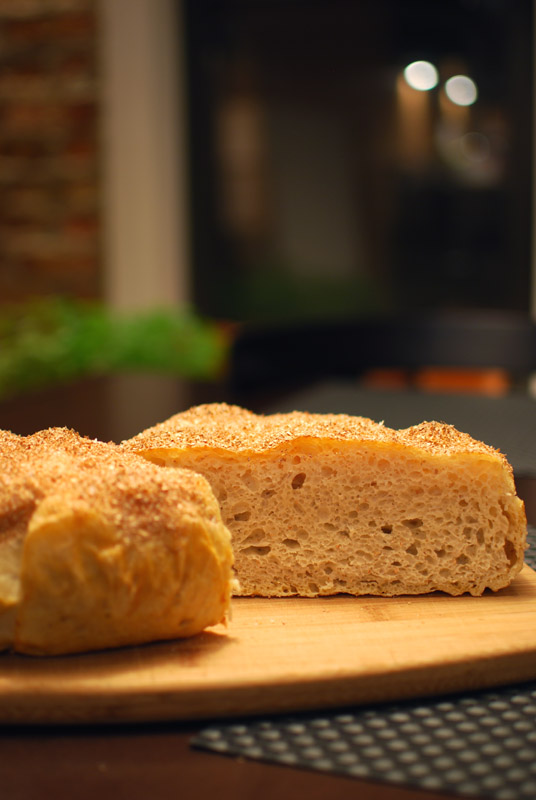
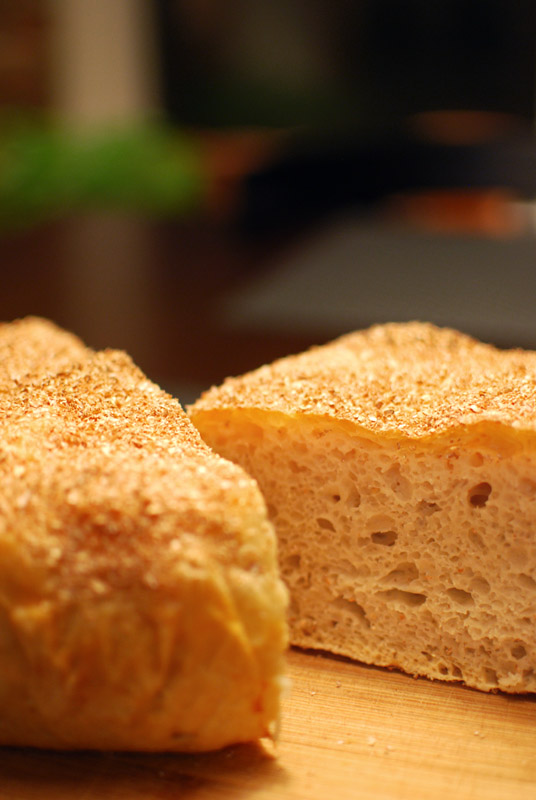
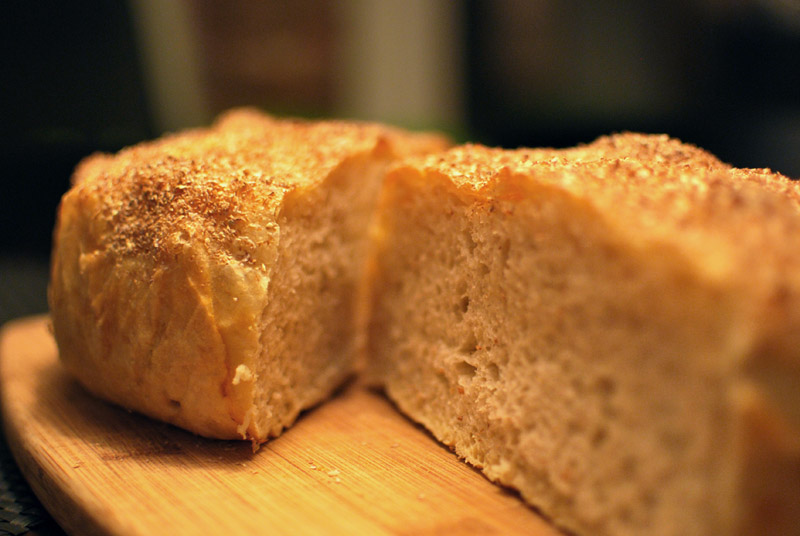
And really, when you get right down to it, that little snit has a point. Don’t get me wrong, I think no-knead bread is fabulous for what it’s done, for the quality of bread it has brought to American home cooking. But objectively speaking, perhaps the crust might be a mote too thick, perhaps the crumb could be more open, perhaps the flavor could be a bit more complex. All these nitpicky things aside, you will perhaps never find a bread so easy to make that produces such excellent results.
Enough has been written about the characteristics of this bread, so I’ll spare you that much. (Is anyone reading this blog really a stranger to no-knead bread?) I have made modifications to the original recipe, namely that I use parchment instead of cloth as a couche for the dough to rise on. Maybe I’m the only one, but I never seem to have luck rising bread on fabric, no matter how heavily floured. It always sticks. So I use parchment instead, which here has the added benefit of not having to flip fragile risen dough upside down into the precise center of a 450º F pot. Forgive my impudence, but I can’t really imagine why you’d do it any other way.
Today, I’m featuring the original no-knead bread, with the aforementioned change in technique. In the following days, I’ll discuss variations on that theme, for those of you who (like me) just can’t resist fixing what ain’t broke. Stay tuned!

Original No-Knead Bread
Adapted from Jim Lahey, via The New York Times
Makes 1 round loaf
14 ounces (3 cups) unbleached bread flour, plus extra for dusting
1/4 teaspoon instant yeast
1¼ teaspoons salt
1½ cups water
1. In a large bowl, whisk together the flour, yeast, and salt. Add the water, and stir until blended; the dough will be shaggy and sticky. Cover tightly with plastic wrap, and let dough sit at room temperature for at least 12 and up to 24 hours (but preferably about 18).
2. The dough is ready when its surface is dotted with bubbles. Line a 10 inch skillet or any wide, shallow bowl with a large square of parchment paper. Turn the dough out onto a well-floured work surface; sprinkle it with a little more flour and fold it over on itself a few times, until it forms a roughly round shape. A bench scraper helps greatly with this step.
3. Transfer the dough to the parchment-lined skillet, and dust heavily with wheat bran or additional flour. Cover loosely with plastic wrap and let rise until doubled in size, about 2 hours. When it is ready, the dough will not readily spring back when poked gently with a fingertip.
4. At least 30 minutes before baking, preheat the oven to 450º F. Put a 6- to 8-quart heavy covered pot (see note 1 below) in oven as it heats. When the dough is ready, carefully remove the pot from the oven. Transfer the dough to the pot by lifting the parchment by the edges, and carefully and quickly lowering the dough into the pot. Shake the pan once or twice if dough is unevenly distributed, but don’t worry about it too much; it will straighten out as it bakes.
5. Cover the pot with the lid, and bake at 450º F for 30 minutes. Remove the lid and bake uncovered for an additional 15 to 30 minutes, or until the loaf is well-browned. An instant-read thermometer should register around 205º to 210º F when fully baked. Transfer to a wire rack to cool thoroughly, discarding the parchment.
Notes:
1. Any heavy covered pot will do, be it cast iron, enamel, Pyrex, stainless steel, or ceramic. As long as it’s oven-safe, it seems anything will do the trick. If your chosen vessel has no lid, or if you’re concerned about the oven-safety of it, simply use aluminum foil instead, pressing it tightly (and carefully) around the preheated pot.
2. If you don’t have bread flour on hand, you can certainly use all-purpose flour in its place. In that case, you should use 13½ ounces instead (which still measures 3 cups).


