Week Fifty-Three: For The Last Time!
And so, we come to my final week of bread. Like I’ve done at the end of every three-month period so far, this week is devoted to righting all my bready wrongs. It’s the week I get to have a second chance at recipes that I mishandled, ones that I tinkered with too much (or not enough), or ones that were just flops to begin with.
To begin, I’m revisiting a bread that didn’t exactly go wrong. In fact, this orange- and mint-scented beauty was quite delicious the first time around; but half the reason I’d chosen to make it in the first place was the novel mixing method. Why, in my flour-addled state, I’d elected to forego this method in favor of the comfortable crutch of a stand mixer, I’ve still no idea.
This time around, I wasn’t going to let myself miss out on any of the sloppy fun. And let me tell you, it was indeed that: sloppy and fun. What started out as a messy, sticky, wet mass of goo ended up as one of the prettiest, silkiest doughs I’ve seen, all through a slightly brutal process of slapping, flinging, and generally roughing it up. It’s liberating.
It seems hopeless at first, just an awful mess to have to clean up later; but then, magically, the dough starts to cooperate and come together in your hands. Before your eyes, it morphs into a supple and smooth ball, the sort of thing you thought you needed a stand mixer to make. And don’t be afraid to really slam it down and put it through the paces – as long as your counter is sturdy enough to take it, you’ll do no harm. Once it starts to come together, the more you sling it around, the quicker you form the gluten.
The word “wondrous” comes to mind to explain the process; it’s really quite extraordinary. Richard Bertinet, the chef who brings us this technique, aptly describes the finished dough as being “full of life”. It’s springy, vibrant, and gorgeous.
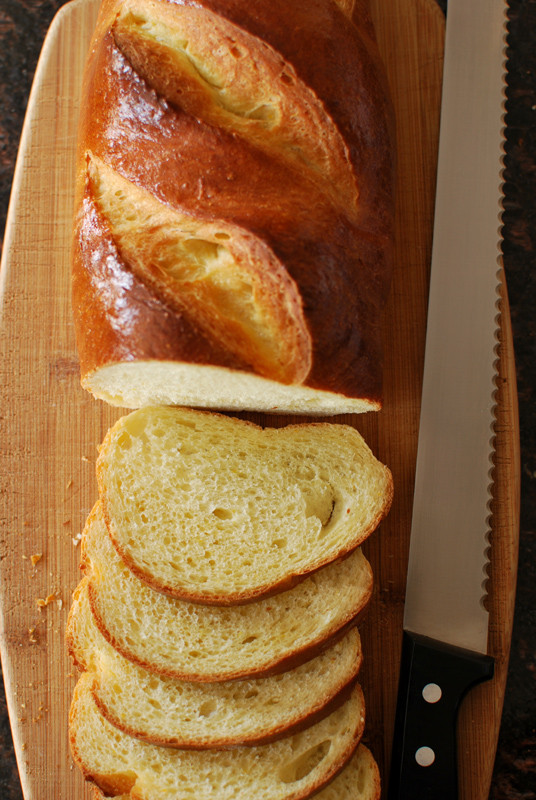
But however admirable the dough may be, the proof is in the baking. The first time around, when I made the dough with the stand mixer, the bread ended up very pretty, shiny and properly dark-crusted, with good flavor and texture. Nothing had seemed wrong with it… until a tried a slice from this second batch.
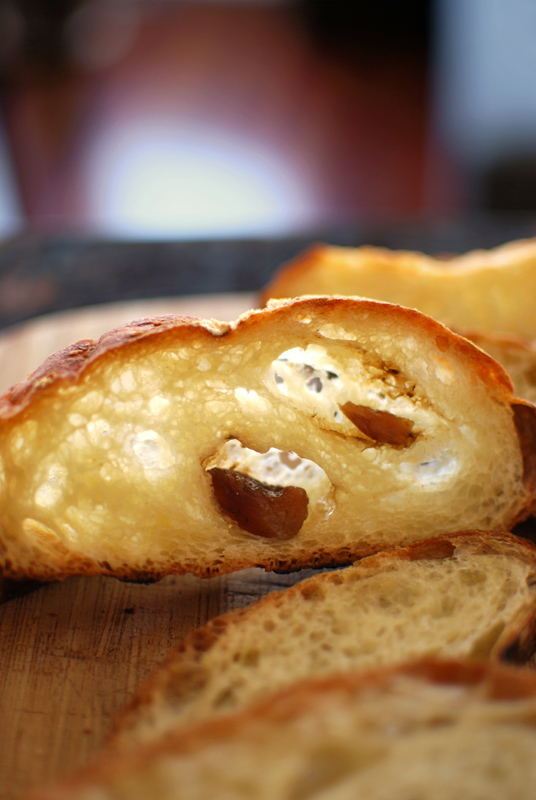
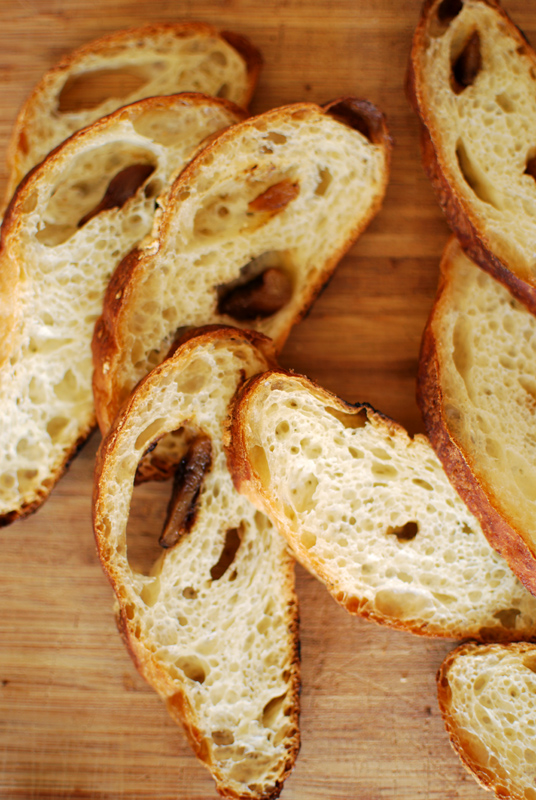
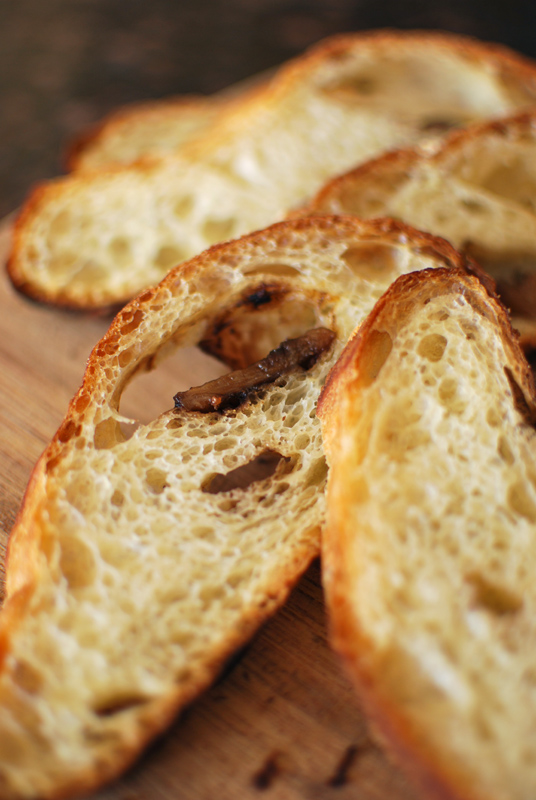
I can’t really explain what the difference was, but all I know is I couldn’t stop eating it. Soft and buttery, each slice was like a reprimand for not trying it sooner. Like in many similarly rich breads, there was a gentle citrus brightness, but here it was the warmth of orange, as opposed to the more typical zing of lemon.
My one complaint is one that I had with the first attempt as well: the lack of mint flavor. I even doubled the amount of mint this time, but it still didn’t come through in the final loaves. I suggest either not bothering with the mint at all, or adding a few drops of peppermint oil to really give it a boost.
Otherwise, I found this light and flavorful bread absolutely sublime. Between the fantastic flavor, the impeccable texture, the picture-perfect looks, and the gleefully messy and almost gymnastic mixing technique, I couldn’t choose my favorite aspect of this one if I had to.
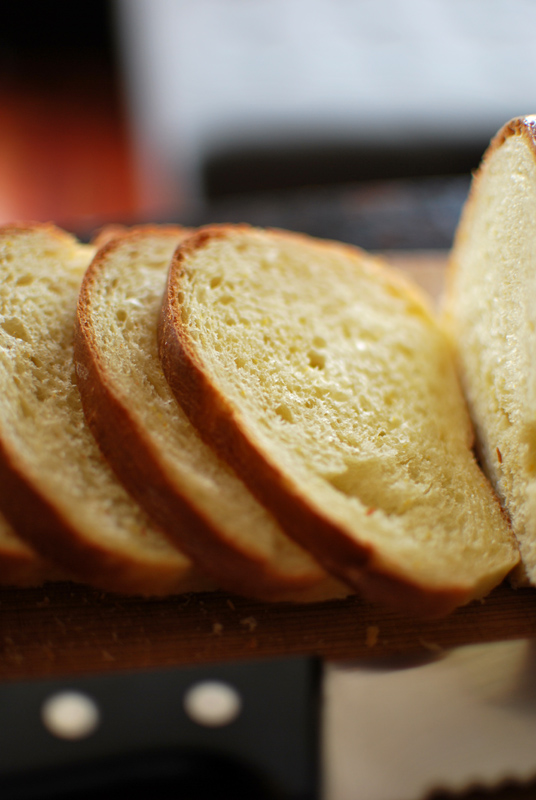
Orange and Mint Bread, For The Last Time!
Adapted from Richard Bertinet, via Gourmet Magazine
Makes 2 loaves
1 cup plus 2 tablespoons milk
1 to 2 bunches mint, leaves only (about 1 cup, tightly packed)
18 ounces (about 3 3/4 cups) unbleached bread flour
2 teaspoons instant yeast
3 tablespoons granulated sugar
2 teaspoons salt
1 tablespoon grated orange zest
1/2 stick unsalted butter, softened
2 large eggs
1 tablespoon Cointreau or other orange-flavored liqueur
1 large egg, beaten with a pinch of salt to make an egg wash
1. To make mint-infused milk, bring milk and mint just to a simmer in a small saucepan over medium heat. Remove from heat and let stand, covered, 1 hour. Strain through a sieve and discard mint. Milk can be chilled for up to a few days at this point; reheat as needed before using per recipe.
2. Heat milk to 120 to 130° F. In a large bowl, whisk together the flour, yeast, sugar, salt, and zest. Add milk, eggs, and liqueur. Using a large nonstick spatula or bowl scraper, mix until a very wet, sticky dough forms. Don’t be tempted to add more flour.
3. Scrape dough out onto an unfloured surface. Slide your fingers underneath both sides of the dough with your thumbs on top. Lift dough up (to about chest level) with your thumbs toward you, letting dough hang slightly. In a continuous motion, swing dough down, slapping bottom of dough onto surface, then stretch dough up and back over itself in an arc to trap in air. Repeat lifting, slapping, and stretching, scraping surface with flat side of bowl scraper as needed, until dough is supple, cohesive, and starts to bounce slightly off of surface without sticking, about 8 minutes. For a video showing the proper technique, click here.
4. Form the dough into a ball by folding the outside edges into the center of the dough, pressing down to seal. Transfer the dough to a large, lightly oiled bowl, seam side down. Cover tightly with a plastic wrap. Let sit at warm room temperature for 1 hour (dough may or may not double in size).
4. Remove plastic wrap and, using a broad nonstick spatula, fold the dough over itself, as though you were folding a letter: 1/3 over the center, then the opposite 1/3 over that. Lastly, fold dough in half again, perpendicular to the first folds (like you’re folding the letter in half). Dough should end up being roughly a square. Replace towel or plastic wrap, let dough rise until doubled again, about 1 hour.
5. Lightly grease a large baking sheet, or line with parchment paper. Gently turn dough out onto a lightly floured surface, taking care not to punch down or deflate too much, and divide into 2 equal pieces. Flatten each piece with the heel of your hand into a rectangle, about 8 x 6 inches in size. Fold a long edge into center and press seam down to seal. Fold opposite edge over to meet in center, pressing seam to seal. Fold in half along seam, pressing edges to seal. Transfer to the prepared baking sheet, seam side down, and cover loosely. Repeat shaping with remaining dough.
6. Brush tops of loaves with some of the egg wash, chilling remainder. Let stand a few minutes until egg feels dry. Cover with a dry kitchen towel (not terry cloth) and let rise at warm room temperature until almost doubled, and feeling springy when gently prodded with a fingertip, about 1½ hours. Thirty minutes before baking, preheat oven to 425º F, and position a rack in the middle of the oven.
7. When fully risen, gently brush top of each loaf again with the egg wash, taking care not to deflate. Using a sharp serrated knife, make three decisive slashes diagonally down the center of each loaf, letting only the weight of the blade press into the dough. Transfer to the oven and immediately reduce temperature to 400º F.
8. Bake at 400º F until loaves are a dark golden brown, 20 to 30 minutes. An instant-read thermometer should register about 200º F when fully baked. Transfer to a rack to cool completely before slicing.
Notes:
1. After heating the milk and mint, and straining, remeasure to make sure you still have enough. I found my milk had lost about 1 tablespoon of volume in the heating process. Add milk as necessary.


