Week Thirty-Four: High-Altitude Week
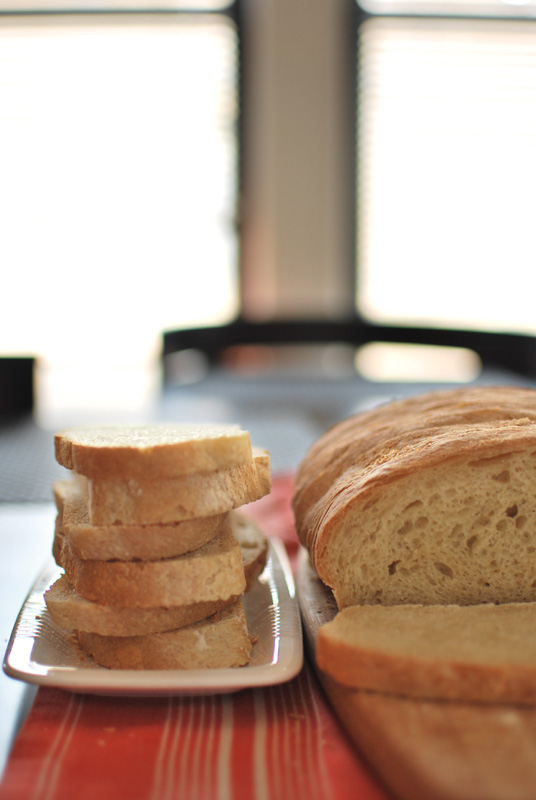
Today’s bread is the second “control” loaf that I baked in Chicago before arriving in Denver to conduct my grand high-altitude experiment. Yesterday’s bread was a quick bread, or one that is chemically leavened. Today’s bread, on the other hand, is yeast leavened.
As I understand it – and this is learned purely through recent research, not through any experience of my own – quick breads are more greatly affected by changes in altitude. Yeast breads, not so much. So theoretically, I should be able to replicate this Chicago-made bread pretty exactly in Denver. Theoretically.
Considering that I’m still not sure what sort of equipment I’ll have access to (aside from a stand mixer), I’m going for the most low-tech, least-equipment method possible. I’ll be bringing parchment paper with me, as I find it necessary and irreplaceable, but that’s it. I refuse to fly with flour; it’s unnecessary on so many levels, even though I seriously almost want to (I’m quite particular about my flour).
This bread is a very basic white bread (hence the name), one with a slightly wet dough that would, in an ideal baking situation, create a nicely crisp crust. This result usually requires the use of a baking stone and a spray bottle of water (to create steam), neither of which I will have. Let’s just say I don’t have terribly high hopes for this one. (No pun intended.)
I have, however, used the one trick up my sleeve that makes any bread taste worlds better: autolyse. As demonstrated previously, this 15 or 20 minute cat nap is perhaps the fastest and easiest way to improve a bread’s flavor and texture. Having no other specialty equipment (even a spray bottle!), this technique would have to suffice.
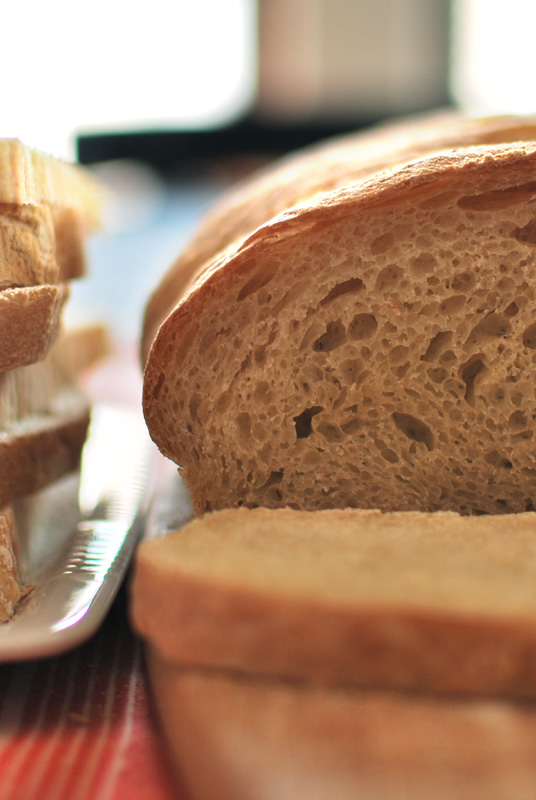
This is a fast-rising dough, as I’ve used the discrete unit of one package of yeast. This amount is more than I would typically like to use in a loaf, but I’m just making things easy for travel-baking. What I’ve ended up with is a bread with a nicely complex flavor, but rather chewy crust – a mildly disappointing characteristic, if I’m honest.
Overall, it’s a pretty good bread. It’s not the greatest bread I’ve ever made, but that’s not really what I’m going for here. The aim is to make a simple white bread, one that has a texture and flavor that I can attempt to re-create in high altitudes, and one that I wouldn’t mind eating. In this, I have succeeded.
Tune in tomorrow for the high-altitude version of yesterday’s Olive Oil Bread, and on Thursday for the high-altitude version of today’s bread! Exciting!
Plain Ol’ Bread
Makes 1 loaf
18 ounces (4 cups) unbleached all-purpose flour
2 1/4 teaspoons (1 package) instant yeast
1 1/4 cups water
2 tablespoons olive oil
1 1/2 teaspoons salt
1. In the bowl of a stand mixer, whisk together all but a handful of the flour and all the yeast. Add the water and olive oil. Mix with the dough hook at low speed until a rough dough forms, about 1 to 2 minutes. Turn the mixer off, and without removing the bowl or the hook, cover the bowl loosely with plastic wrap. Let stand for at least 15 to 20 minutes, or up to 45 minutes.
2. Remove the plastic wrap, and add the salt. Continue kneading the dough, at medium-low speed. Knead for 6 to 8 minutes, or until the dough forms a cohesive ball that clears the sides of the bowl, and becomes elastic. If the dough does not clear the sides of the bowl, add the reserved flour until the proper consistency is achieved. The dough should not be stiff, but should not be soupy.
3. Transfer the dough to a lightly oiled bowl. Cover with plastic wrap and let rise in a warm place until doubled in size, about 45 to 60 minutes.
4. Using a nonstick spatula, gently deflate and fold the dough over itself in a tri-fold (as though you were folding a letter). Cover and let rise again for 45 to 60 minutes, or until doubled in size.
5. Line a baking sheet with parchment paper. Gently deflate the dough, and turn out onto a lightly floured surface. Flatten the dough into a slight rectangle or oval shape. Fold the two corners furthest away from you into the center of the dough, as though you were beginning to fold a paper airplane. Starting with that point, roll the dough up into a cylinder, pressing gently to seal as you roll. Press the final seam to seal. Transfer the dough to the prepared baking sheet, seam-side down. Tuck the ends under if desired, to make a more attractive loaf. Cover loosely with lightly-oiled plastic wrap, and let rise until doubled in size, about 1 hour. Thirty minutes before baking, preheat the oven to 450º F.
5. Bake at 450º F for 10 minutes. After 10 minutes, reduce the temperature to 400º F, and bake the loaf for an additional 15 to 25 minutes, or until golden brown. Remove the bread to a wire rack to cool before slicing.
Notes:
1. This bread will keep, wrapped in plastic, for a day or two at room temperature. It can also be frozen, wrapped in plastic and aluminum foil, then reheated in a 350º F oven until warmed through.


Looks good…though I do not understand the technicalities or problems faced with high altitude baking 🙂