Week Forty-Three: Whatever I Feel Like Week
Today’s recipe produces a delicious, if fairly standard, rich dough (flavorings aside). It’s something like a slightly leaner brioche, and all the usual suspects are there: milk, butter, egg. There is one main difference here, though, and it lies in the unusual kneading method.
This dough is kneaded with an unfamiliar progression of lifting, slapping, stretching, and folding that turns a gloopy, shaggy mess into a silken and elastic thing of beauty. It’s low-tech, needing only hands and a work table, simple once you’ve been shown how to do it, and produces excellent results. It’s everything good bread-making should be.
And I would love to show you the results of such a method. But… um… I can’t.
I didn’t use it.
No, I don’t know why, either. It makes absolutely no sense, I know. I mean, the method itself was half of what appealed to me in the first place (the other half being the combination of orange and mint in such a rich bread, yum). Was it laziness? Was it willful stubbornness? Was it me thinking that I didn’t have to fool with deciphering the necessarily awkward wording of the method when I had a perfectly good stand mixer right there and could just make the darn bread dough and sit down to dinner and Episode One of the new season of Venture Brothers and have a glass of wine already? I’ll let you decide which is the truth.
Of course, on reading closer, I discovered there was a video of the method on Gourmet’s website. (Yes, this was after I finished baking the bread.) It’s a very informative video, and I urge you to watch it (before the whole site is gone, so sad!) if you’ve any interest in trying the proper method. What I saw in the video was a finished dough with a much better look and texture than the one I pulled from my stand mixer; in retrospect, I wish I’d taken the time to figure it out instead of automatically reverting to mixers tried and true.

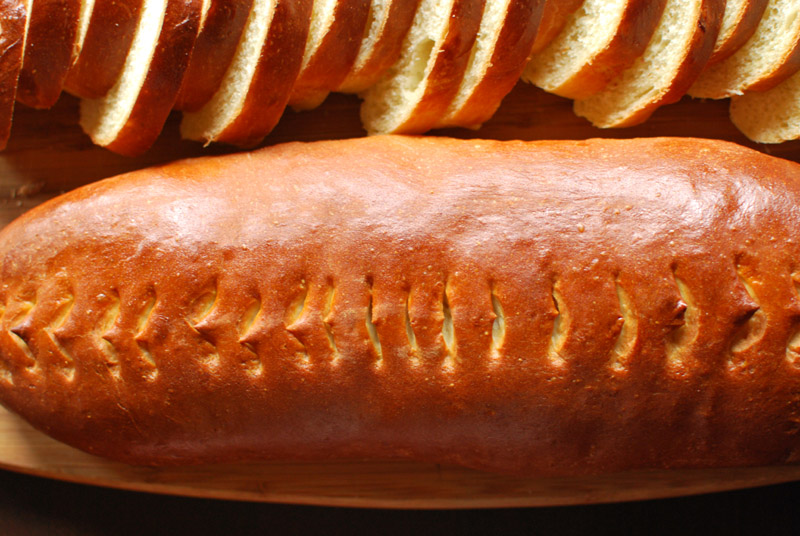
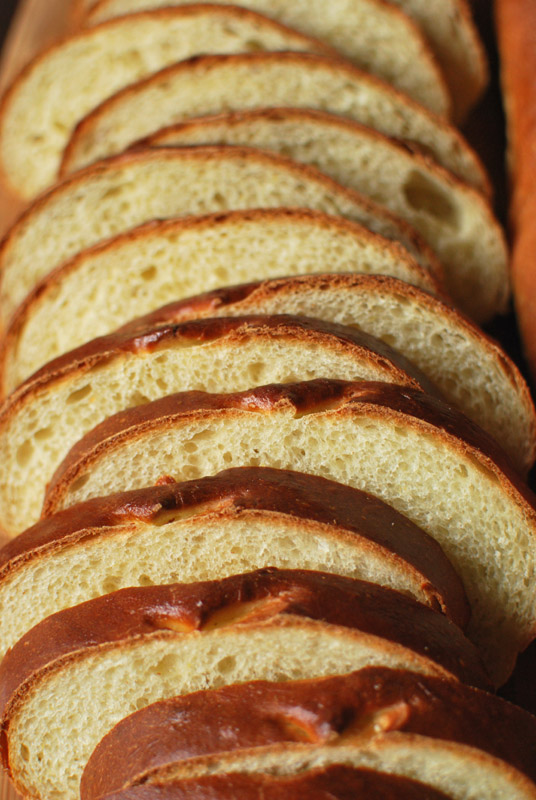
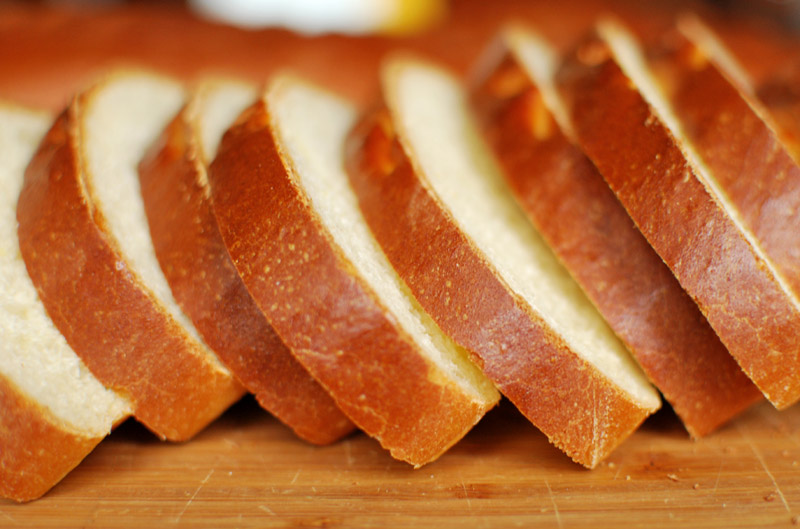
But the bread that I did end up with certainly wasn’t bad. On the contrary, it was fluffy and light and just rich enough. It had the properly buttery and eggy smell that such a bread ought, and the tender crust turned a stunning shade of mahogany.
My one complaint is that the finished loaves didn’t really taste of orange and mint. As one might assume. From the title. It certainly smelled like orange and mint, while both mixing and baking, but somehow all the flavor evaporated, or was too subtle for me to notice. I should’ve called it “Orange and Mint Scented Bread”, and left it at that. I did only use the zest from half an orange; I would certainly use the whole orange next time, and increase the amount of orange liqueur as well. As for the mint, I guess just double that as well; why not?
Otherwise, this was a very respectable recipe, airy and tender as a rich dough should be. Just undersweet enough, it didn’t taste dry as some of these breads can. It’s fantastic toasted, and as the recipe headnote suggests, would make incredibly special bread pudding or french toast. I can’t wait to try it after I make it properly.
Orange and Mint Bread
Adapted from Richard Bertinet, via Gourmet Magazine
Makes 2 loaves
1 cup plus 2 tablespoons milk
1 bunch mint, leaves only (about 1 cup, loosely packed)
18 ounces (about 3 3/4 cups) unbleached bread flour
2 teaspoons instant yeast
3 tablespoons granulated sugar
2 teaspoons salt
1 tablespoon grated orange zest
1/2 stick unsalted butter, softened
2 large eggs
1 tablespoon Cointreau or other orange-flavored liqueur
1 large egg, beaten with a pinch of salt to make an eggwash
1. To make mint-infused milk, bring milk and mint just to a simmer in a small saucepan over medium heat. Remove from heat and let stand, covered, 1 hour. Strain through a sieve and discard mint. Milk can be chilled for up to a few days at this point; reheat as needed before using per recipe.
2. Heat milk to 120 to 130° F. In the bowl of a stand mixer, whisk together the flour, yeast, sugar, salt, and zest. Add milk, eggs, and liqueur. Using the dough hook, mix at low speed until a wet, sticky dough forms. Increase speed to medium, and knead until smooth, 4 to 5 minutes.
3. Scrape dough out onto a lightly floured surface. Form into a ball by folding each edge, in turn, into center of dough and pressing down well with your thumb, rotating ball as you go. Turn the ball over and transfer to a lightly floured bowl. Cover with a kitchen towel or plastic wrap. Let sit at warm room temperature until doubled in size, 45 to 60 minutes.
4. Remove towel or plastic wrap and, using a broad nonstick spatula, fold the dough over itself, as though you were folding a letter: 1/3 over the center, then the opposite 1/3 over that. Lastly, fold dough in half again, perpendicular to the first folds (like you’re folding the letter in half). Dough should end up being roughly a square. Replace towel or plastic wrap, let dough rise until doubled again, 45 to 60 minutes.
5. Lightly grease a large baking sheet, or line with parchment paper. Gently turn dough out onto a lightly floured surface, taking care not to punch down or deflate too much, and divide into 2 equal pieces. Flatten each piece with heel of your hand into a rectangle, about 8 x 6 inches in size. Fold a long edge into center and press seam down to seal. Fold opposite edge over to meet in center, pressing seam to seal. Fold in half along seam, pressing edges to seal. Transfer to the prepared baking sheet, seam side down, and cover loosely. Repeat shaping with remaining dough.
6. Brush tops of loaves with some of the egg wash, chilling remainder. Let stand a few minutes until egg feels dry. Cover with a kitchen towel (not terry cloth) and let rise at warm room temperature until almost doubled, and feeling springy when gently prodded with a fingertip, about 1½ hours. Thirty minutes before baking, preheat oven to 425º F, and position a rack in the middle of the oven.
7. When fully risen, brush top of each loaf again with the egg wash. Holding a pair of scissors at a 45-degree angle, make a series of decorative snips along the top in a line lengthwise down the center of each loaf. Transfer to the oven and immediately reduce temperature to 400º F.
8. Bake until loaves are dark golden brown, 20 to 30 minutes. An instant-read thermometer should register about 200º F when fully baked. Transfer to a rack to cool completely before slicing.
Notes:
1. After heating the milk and mint, and straining, remeasure to make sure you still have enough. I found my milk had lost about 1 tablespoon of volume in the heating process. Add milk as necessary.


