Week Fifty-Three: For The Last Time!
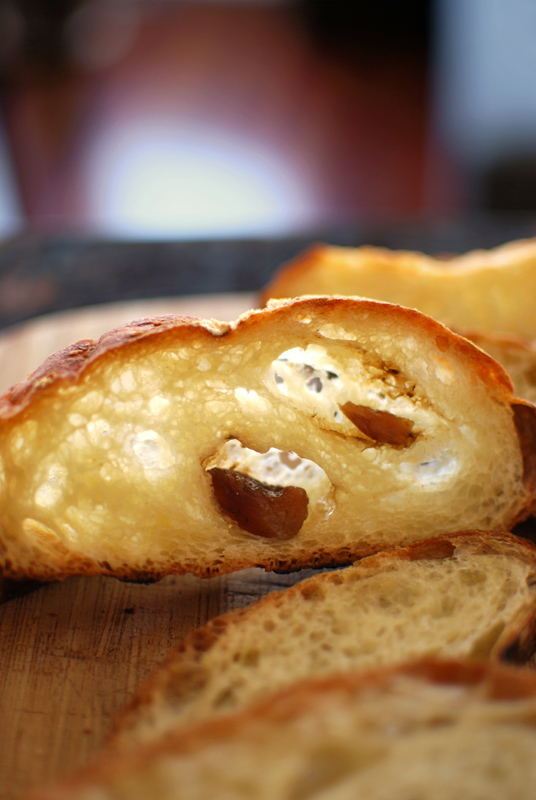
This bread was a spectacular failure the first time I tried it. I was attempting to recreate a bread that I’d never tried or seen in person, but the descriptions of which sounded too fantastic to let a recreation remain unattempted. Made by Brasserie Bread in Sydney, Australia, the Caramelised Garlic Bread is one of their more popular creations. My knowledge of this loaf was limited, at best; but the thought of pulling from my oven a “soft Italian dough” resplendent with garlic “caramelised in a sugar syrup with balsamic vinegar and cracked black pepper corns [sic]” spurred me onwards.
The resultant loaf from that first attempt was so insanely garlicky that I actually threw it away (and if you know me, you know that’s not a thing I do lightly). I harbored brief delusions of using it to thicken a brothy vegetable soup, but I quickly realized that unless I wanted everything in my freezer to taste like garlic, it had to go. Out it went, and the stinky disservice I had done to the otherwise delightful dough weighed on my conscience.
For this second attempt, I immediately reduced the amount of garlic. Shocker, I know. And since the blanching procedure I originally used did nothing noticeable, I eliminated that in favor of a more obvious cooking technique: caramelizing the whole cloves in a pan, as one would caramelize onions. This newer method worked so much better that I’m still smacking myself in the forehead for not realizing it sooner.
Caramelization, you see, means one thing: it’s the way sugars cook. But this can refer to any kind of sugar, whether plain white granulated sugar, or the natural vegetable sugars in, say, onions. When given little to no information about the type of caramelization that should occur in this bread, my pastry chef brain took over, and decided that white sugar caramelization was being referenced. Unfortunately for my bread, the temperatures at which white sugar turns to caramel are far too hot for precious garlic, which will burn within an instant, turning bitter and generally nasty.
If I’d used my less pastry-oriented brain, I would’ve realized that obviously, garlic should be caramelized like onions, at a low heat that would preserve the nutty and buttery flavors that can be coaxed from garlic, if treated properly. After slowly cooking this garlic, I knew in an instant that this bread would be a far greater success; this garlic was soft and sweet, with that delicious slow-cooked garlic flavor, rather than tasting harsh and evil as the previous attempt’s garlic had.
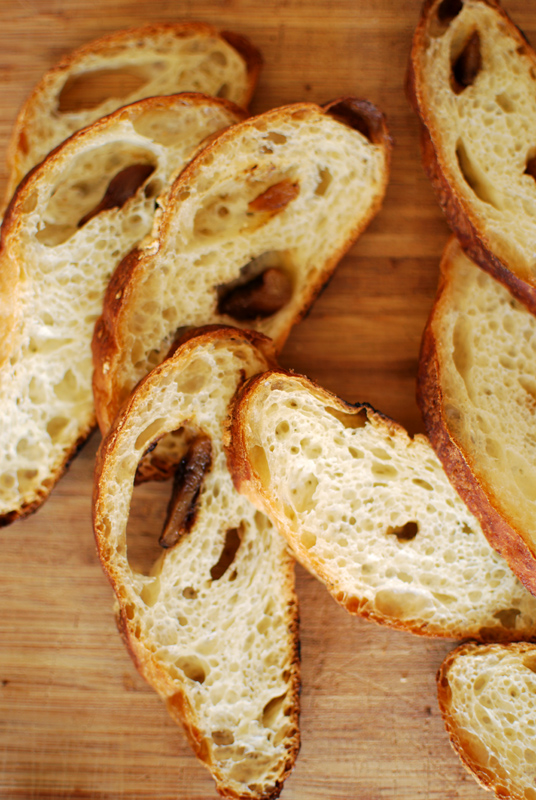
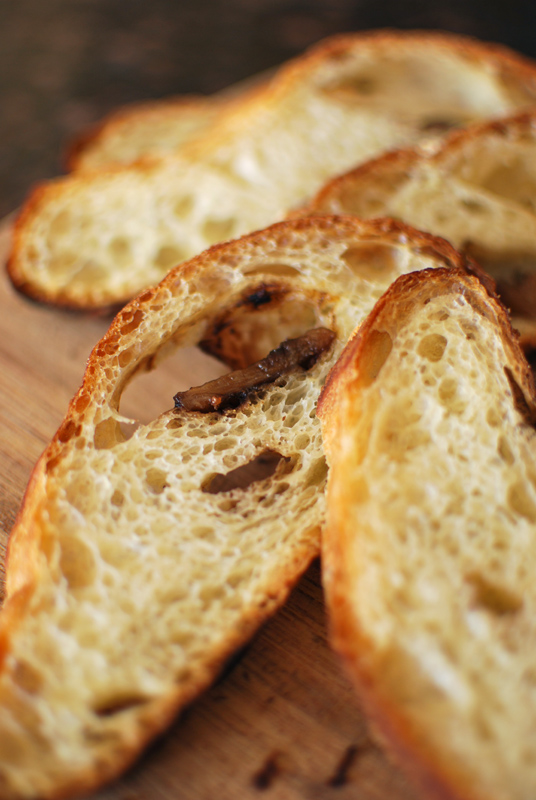
The dough here is exactly the same as last time, amazingly easy and delicious. I’ve adapted the vaunted Artisan Bread In Five Minutes A Day method, which results in a truly fantastic loaf with excellent flavor, texture, crust, and crumb. When folded around these slightly sweet bursts of buttery, balsamic-coated whole garlic cloves, it was just fantastic.
Overall, this bread is crusty, tender, and full of the best flavors garlic has to offer. If you’re not a fan of garlic, you might not appreciate it all that much; but if you buy garlic as often as you buy milk or eggs, this one’s right up your alley. Me, I finally got a caramelized garlic bread that I can actually eat and enjoy, and that’s good enough for me. Mission accomplished.
Caramelized Garlic Bread, For The Last Time!
Adapted in part from Artisan Bread in Five Minutes a Day, by Jeff Hertzberg and Zoe Francois
Makes 1 loaf
For the dough:
9 ounces (2 cups) unbleached all-purpose flour, plus extra for dusting as needed
1½ teaspoons yeast
1½ teaspoons kosher salt
1 teaspoon sugar
1 cup water
1 tablespoon olive oil
For the caramelized garlic:
1 teaspoon olive oil
1 teaspoon butter
1/2 head garlic, separated into cloves and peeled
2 teaspoons whole black peppercorns, crushed
1 pinch salt
2 teaspoons sugar
1 tablespoon balsamic vinegar
1. To make the dough, whisk together the flour, yeast, salt, and sugar. Add the water and olive oil, and mix until smooth and all flour is moistened. Cover well, and let sit at room temperature for about 2 hours. Transfer the dough to the refrigerator, where it should sit for at least 12 hours and up to 12 days.
2. When ready to continue, remove the dough from the refrigerator and let sit at room temperature while you make the caramelized garlic. In a small sauté pan over medium-low heat, warm the butter and olive oil just until the butter is melted. Add the garlic cloves, crushed peppercorns, and salt; toss to combine.
3. Slowly cook the garlic over low or medium-low heat until very soft and browned, about 45 minutes. If the garlic starts to over-brown, reduce the heat. Towards the end of cooking, sprinkle the sugar evenly over the garlic, and slowly add the balsamic vinegar (the mixture will bubble up). Reduce the liquid slightly, then remove garlic to a plate to cool to room temperature, about 10 minutes.
4. Sprinkle a baking sheet with cornmeal, or line with parchment paper. To make the bread, turn the dough out onto a floured work surface. Flour the top, and gently press into a flat rectangle, being careful not to deflate it too much. Place the garlic evenly over the surface of the dough.
5. Starting with a long side, roll the dough up jelly-roll style into a long cylinder, pressing the seam to seal. Transfer the roll to the prepared baking sheet, seam-side down. Tuck the ends underneath if you like, for a more even shape. Dust liberally with flour, cover loosely with plastic wrap, and let rise at room temperature for 30 to 60 minutes, or until doubled in size. Dough is fully risen when an indentation remains in the side after prodding gently with a fingertip. Preheat the oven to 450º F, with a baking stone if possible. Place a rimmed pan (cast iron is ideal, but any pan will do) in the oven to heat also. Meanwhile, heat 1/2 cup water to just simmering.
6. When fully risen, quickly slash the loaf with a sharp serrated knife 3 to 4 times, letting only the weight of the blade press into the dough. Pour the heated water into the hot pan in the oven, and place the dough on the baking stone. Bake at 450º F for about 30 minutes, or until golden brown and fully cooked. Transfer to a wire rack to cool thoroughly before slicing.


Fantastic site! Can’t believe I only stumbled across it. Great efforts, and you know what they say, practice makes perfect!
Pingback: Kylie Batt
Pingback: Kylie Batt
Pingback: CAMERON