Week Thirty-Four: High-Altitude Week
I know yesterday, I was discussing bread at sea-level again. But today, I’m back at high-altitude, finishing the conversation on yeast bread. Behold, the Magic Of Teh Internets.
One important thing to realize, when baking yeast bread at high-altitude, is that yeast will act more quickly. This is due to the lower air pressure, meaning that there is less resistance pushing back the air bubbles produced by the yeast. Therefore, the bubbles expand more easily as they’re formed, making your bread rise more quickly than it will at sea level.
Now, if you’re interested in getting bread on the table faster, this is a good thing. But if you’re interested in getting a good bread on the table, this is a bad thing. Good-tasting bread, you recall, requires time to develop enzymes and acids that dramatically improve the flavor of the dough. Speed, therefore, is then enemy of flavorful yeast breads.
There’s a few ways to combat this: you can use less yeast, generally about 25% less than you would at sea level, though that requires math; or as the dough rises, you can punch it down (deflate it) multiple times, though that requires a bit more of a time investment; or you can simply refrigerate the dough. This last solution not only improves the flavor of your dough immensely, but it also buys you up to several days of time. You can make the dough in the morning, go about your day, and finish it that night, or even the next night, for dinner.
The only problem with that method is the waiting for the dough to come back to room temperature (the yeast remain fairly dormant until then). And if, like me, you use a glass bowl, which holds temperatures quite well, then you’ll be waiting a long time. If you do use a glass bowl to refrigerate the dough, try transferring it to a room-temperature bowl while waiting for it to warm up. You’ll thank me later.
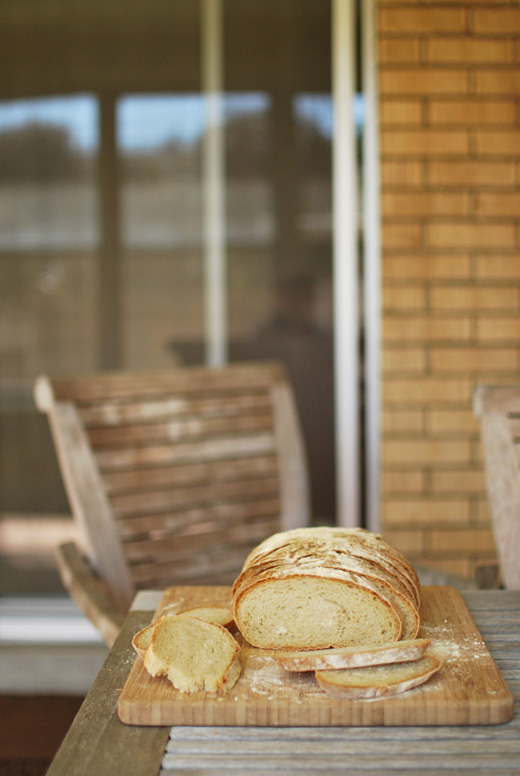
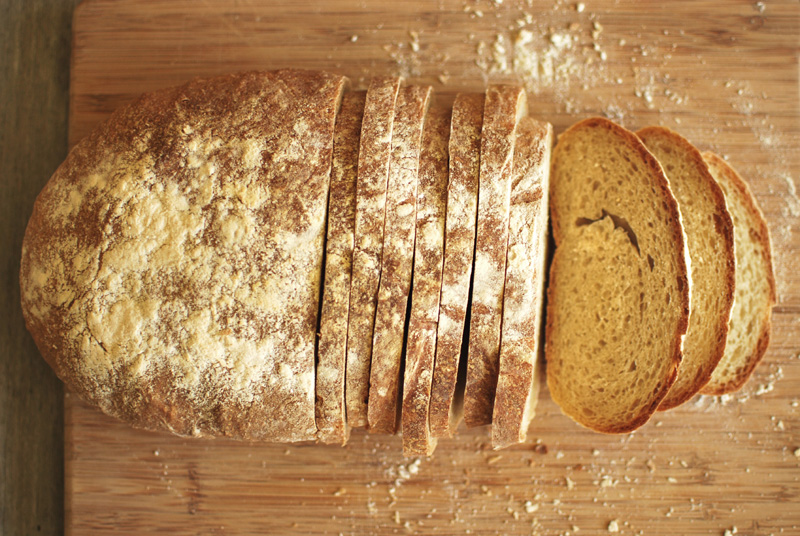
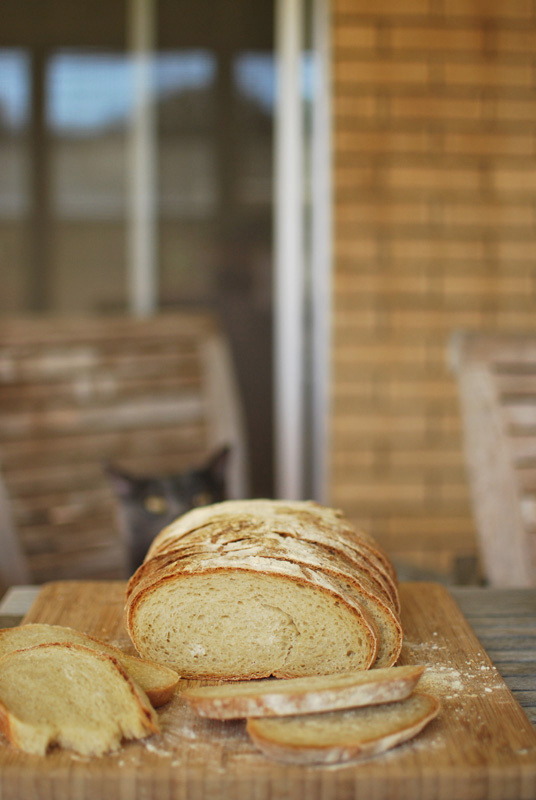
Because my dough was still rather chilly even 3 hours after removing it from the refrigerator, the rise on this loaf was not as tall as the previous high-altitude loaf, or the original sea-level loaf. But all said and done, this loaf was the clear winner as far as overall flavor goes. Everyone agreed.
Due to the long, cold rise, this bread had a very complex flavor, though it did have a more compact crumb. The crust was comparable to the other two loaves, unsurprisingly, but was the hands-down favorite when a (very informal) side-by-side-by-side comparison was done. And yes, sea-level bakers, this refrigeration-for-better-flavor method works just as well in the lowlands.
The moral of the story is this: like baking bread at sea-level, baking bread at high altitudes is a matter of practice. You try recipes, work with dough until you know what it should look like, adjust based on your personal preferences and atmospheric conditions, and stick with what works for you. There are no hard and fast rules, though it’s nice to have helpful suggestions every now and then. The only way to learn is by doing, and I’m thrilled to have been able to do this experiment. Thanks again to my lovely family for putting up with my insistance on baking, and for being my taste-testing guinea pigs. I hope I’ve been able to help some of you high-altitude bakers out there this week. Happy mile-high baking!
High-Altitude Plain Ol’ Bread, Version Two
Makes 1 loaf
18 ounces (4 cups) unbleached all-purpose flour, plus extra as needed
2 1/4 teaspoons (1 package) instant yeast
1 3/4 cups water
2 tablespoons olive oil
1 1/2 teaspoons salt
1. In the bowl of a stand mixer, whisk together the flour and yeast. Add the water and olive oil. Mix with the dough hook at low speed until a rough dough forms, about 1 to 2 minutes. Turn the mixer off, and without removing the bowl or the hook, cover the bowl loosely with plastic wrap. Let stand for at least 15 to 20 minutes, or up to 45 minutes.
2. Remove the plastic wrap, and add the salt. Continue kneading the dough, at medium-low speed. Knead for 6 to 8 minutes, or until the dough forms a cohesive ball that clears the sides of the bowl, and becomes elastic. If the dough does not clear the sides of the bowl, add additional flour until the proper consistency is achieved. The dough should not be stiff, but should not be soupy.
3. Transfer the dough to a lightly oiled bowl. Cover tightly with plastic wrap and refrigerate at least overnight, or up to three days.
4. Remove dough from the refrigerator, and let stand at room temperature for at least 1 hour before proceeding. Using a nonstick spatula, gently deflate and fold the dough over itself in a tri-fold (as though you were folding a letter). Cover and let rise again for 1 to 1 1/2 hours, or until doubled in size.
5. Line a baking sheet with parchment paper. Gently deflate the dough, and turn out onto a lightly floured surface. Flatten the dough into a slight rectangle or oval shape. Fold the two corners furthest away from you into the center of the dough, as though you were beginning to fold a paper airplane. Starting with that point, roll the dough up into a cylinder, pressing gently to seal as you roll. Press the final seam to seal. Transfer the dough to the prepared baking sheet, seam-side down. Tuck the ends under if desired, to make a more attractive loaf. Cover loosely with lightly-oiled plastic wrap, and let rise until doubled in size, about 1 hour. Thirty minutes before baking, preheat the oven to 450º F.
5. Bake at 450º F for 10 minutes. After 10 minutes, reduce the temperature to 400º F, and bake the loaf for an additional 15 to 25 minutes, or until golden brown. Remove the bread to a wire rack to cool before slicing.
Notes:
1. This bread will keep, wrapped in plastic, for a day or two at room temperature. It can also be frozen, wrapped in plastic and aluminum foil, then reheated in a 350º F oven until warmed through.


